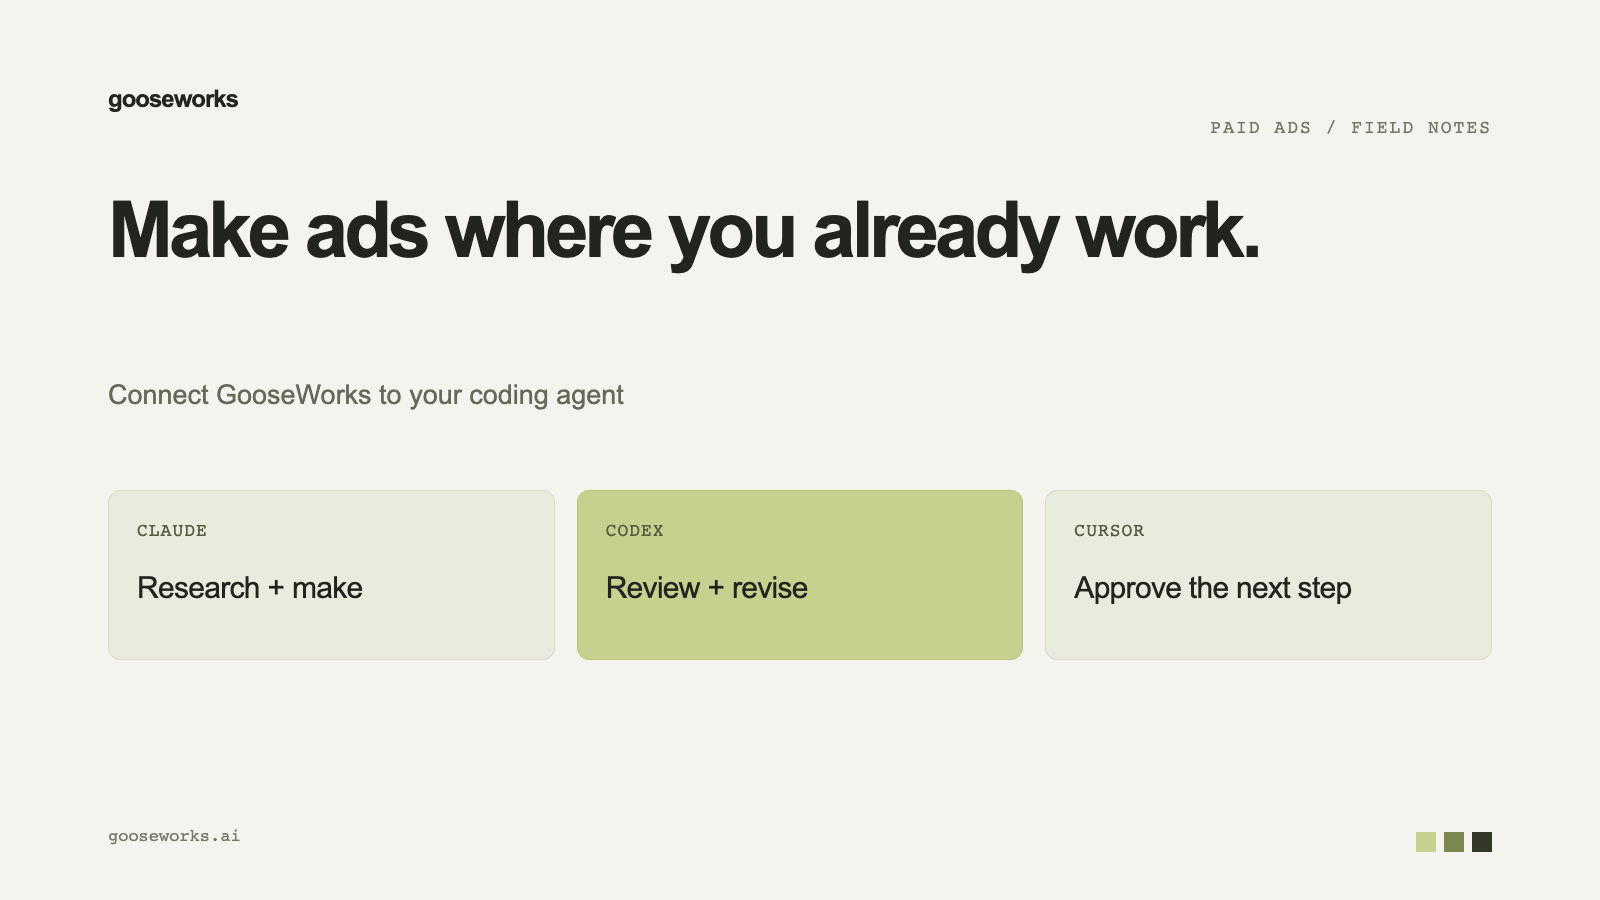

You can make ads and prepare Meta changes from the coding agent you already use. Goose connects Claude Code, Codex, Cursor and ChatGPT to your brand, your credits and your Meta account. The agent does the work, and you approve what goes live.
Connect
For Claude Code, Codex and Cursor, install the skills and log in:
npx gooseworks install --all
npx gooseworks login
For the Claude chat app, add a custom connector with the address https://mcp.gooseworks.ai/mcp and sign in with the same account you use for Goose. Cursor has a one-click install link.
Make ads
/goose-ads create ads for my brand <your-website>The agent loads your brand, picks sources, quotes the credit cost before it generates and waits for your yes. You can ask for a quote first, then approve. For the full workflow, see a full ad creative team in Claude Code.
Prepare Meta changes
From the same chat you can prepare:
- A Meta ad launch.
- A pause or an undo.
- A budget or creative change.
Nothing goes live until you approve it. The same rules apply as inside the app.
Check the connection first
Ask the agent to confirm the connection before it starts. Having the skill instructions loaded does not prove the connection works, so the agent should check the account first.
Good habits
- Ask for a cost quote before any paid step.
- Specify the sizes you want. Leaving them out generates the default set, which is three images per variant.
- Do not resubmit a slow job. A slow job is not a failed job, and resubmitting can duplicate work and charges.
- Review the pre-launch check before approving a launch. See how to check an ad before it goes live.
Try it
Start at gooseworks.ai/ads.